



Documentation contents
Inbox and e-mail
Knowledge base
Files
Analytics
Account and billing
Install the chat widget on your website
Updated
The chat widget is the chat window on your site that customers use to write to you. Create one in Settings, Chat widgets, with the New chat widget button.
Enter your site's address
Enter the address, for example shop.example.com. We look at your site and suggest colors, a logo and languages. The address also becomes the first allowed domain: the widget works only on allowed domains.
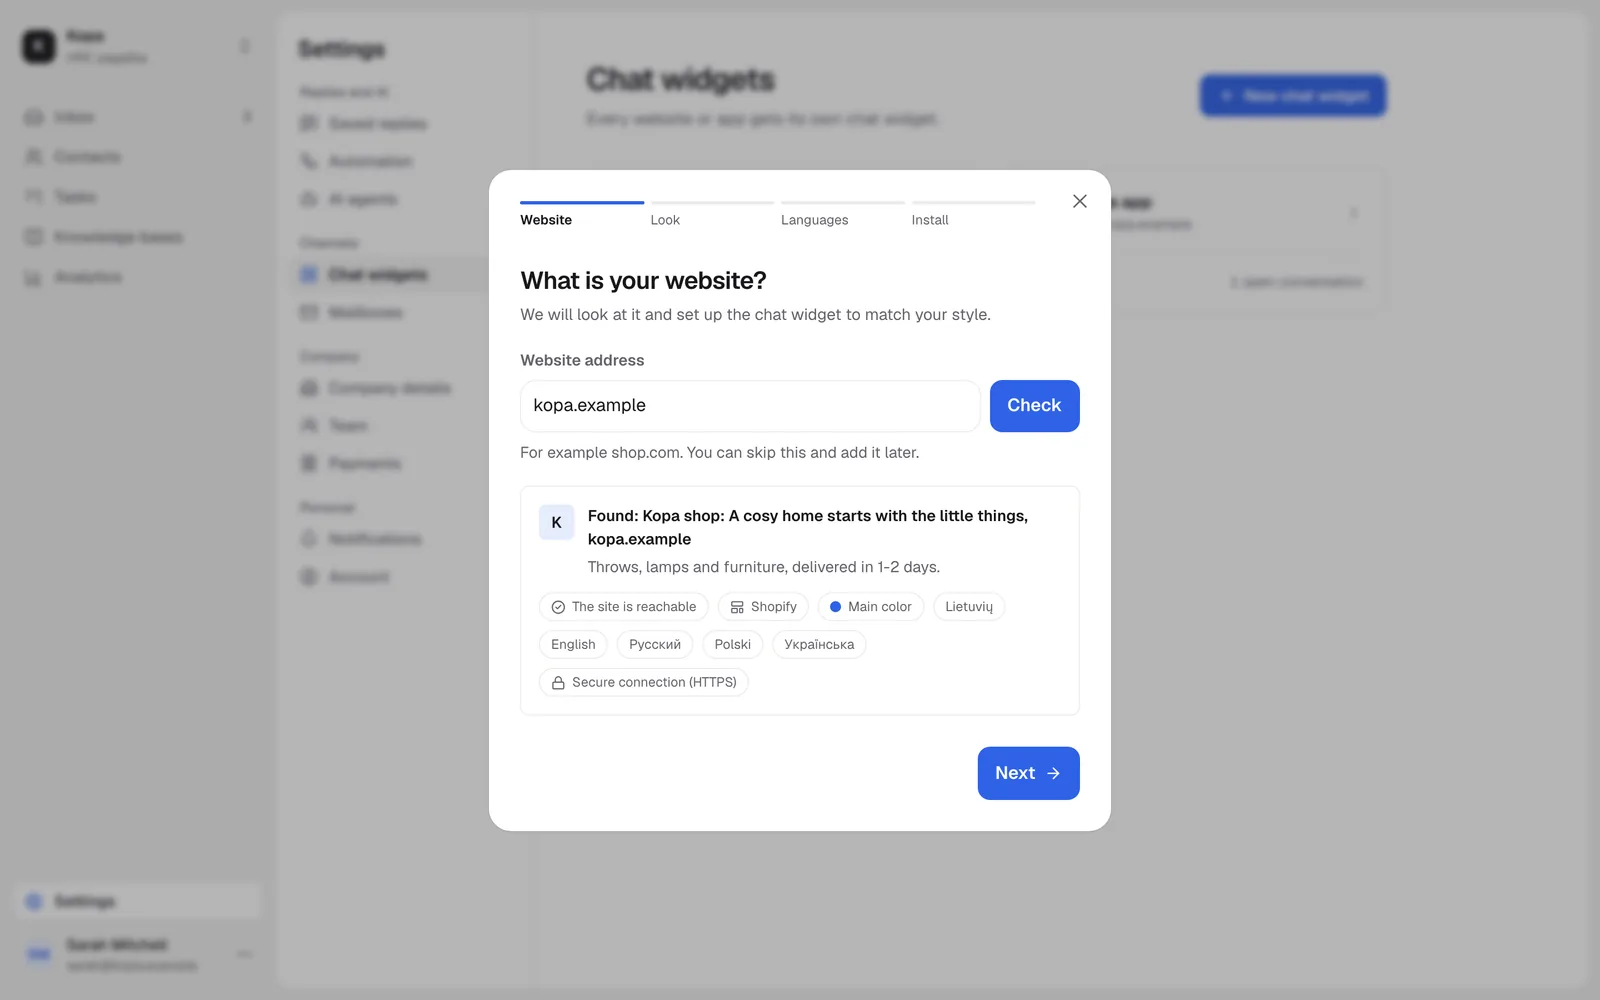
Check the look and languages
The preview shows how the widget will look. Change colors, texts and languages now or later in Widget settings.
Add the code
The simplest way is one <script> tag just before the </body> tag:
<script
  src="https://widget.hrc.lt/v1/loader.js"
  data-widget-key="wk_xxxxxxxxxxxxxxxxxxxx"
  async
></script>
If you want to pass details about the user or call the widget from your own code, use the full code with the command queue:
<script>
  (function (w, d) {
    w.HrcWidget = w.HrcWidget || function () {
      (w.HrcWidget.q = w.HrcWidget.q || []).push(arguments);
    };
    var s = d.createElement('script');
    s.async = true;
    s.src = 'https://widget.hrc.lt/v1/loader.js';
    d.head.appendChild(s);
  })(window, document);
  HrcWidget('init', {
    widgetKey: 'wk_xxxxxxxxxxxxxxxxxxxx',
    locale: 'auto',
  });
</script>
The wizard shows the code with your widget key already in it.
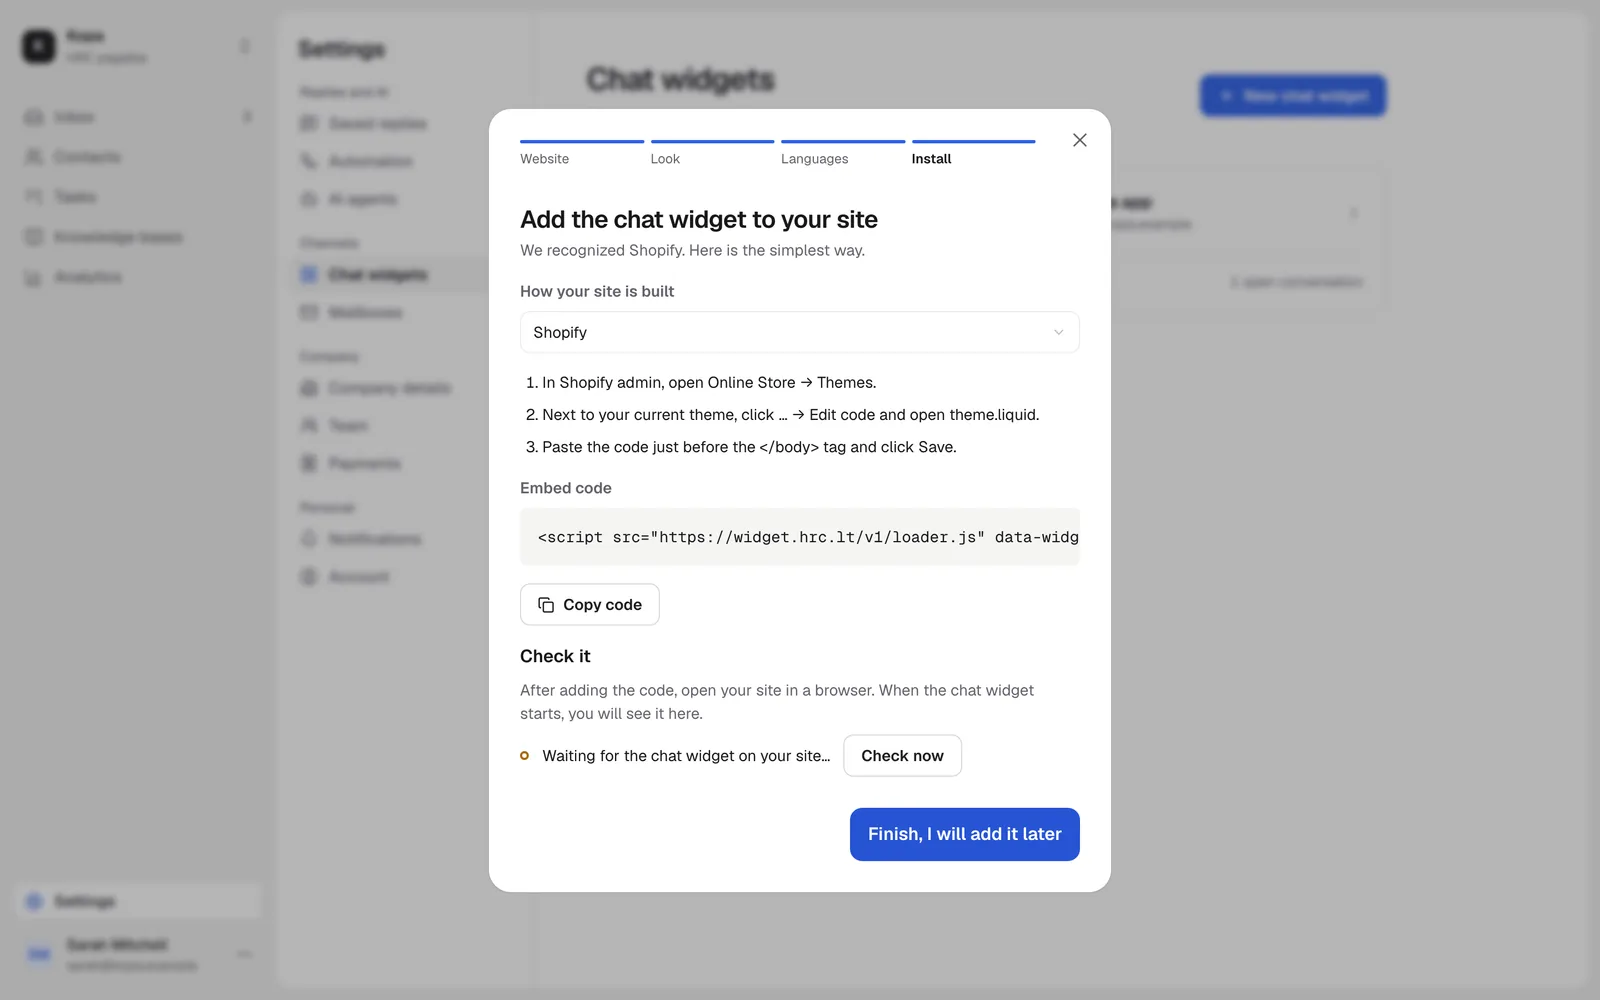
WordPress, Shopify, Wix and Google Tag Manager
- WordPress: install the free WPCode plugin, open Code Snippets, Header & Footer and paste the code into the Footer box.
- Shopify: Online Store, Themes, "…" next to your theme, Edit code, the file
theme.liquid: paste the code just before</body>. - Wix: Settings, Custom Code, Add Custom Code, the Body - end place, all pages. This needs a paid Wix plan and a connected domain.
- Google Tag Manager: Tags, New, Custom HTML, paste the code, Triggering All Pages, then Submit.
Check that it works
The wizard checks every few seconds whether the widget has loaded on your site. Open your site and send a test message: it shows up in your inbox.
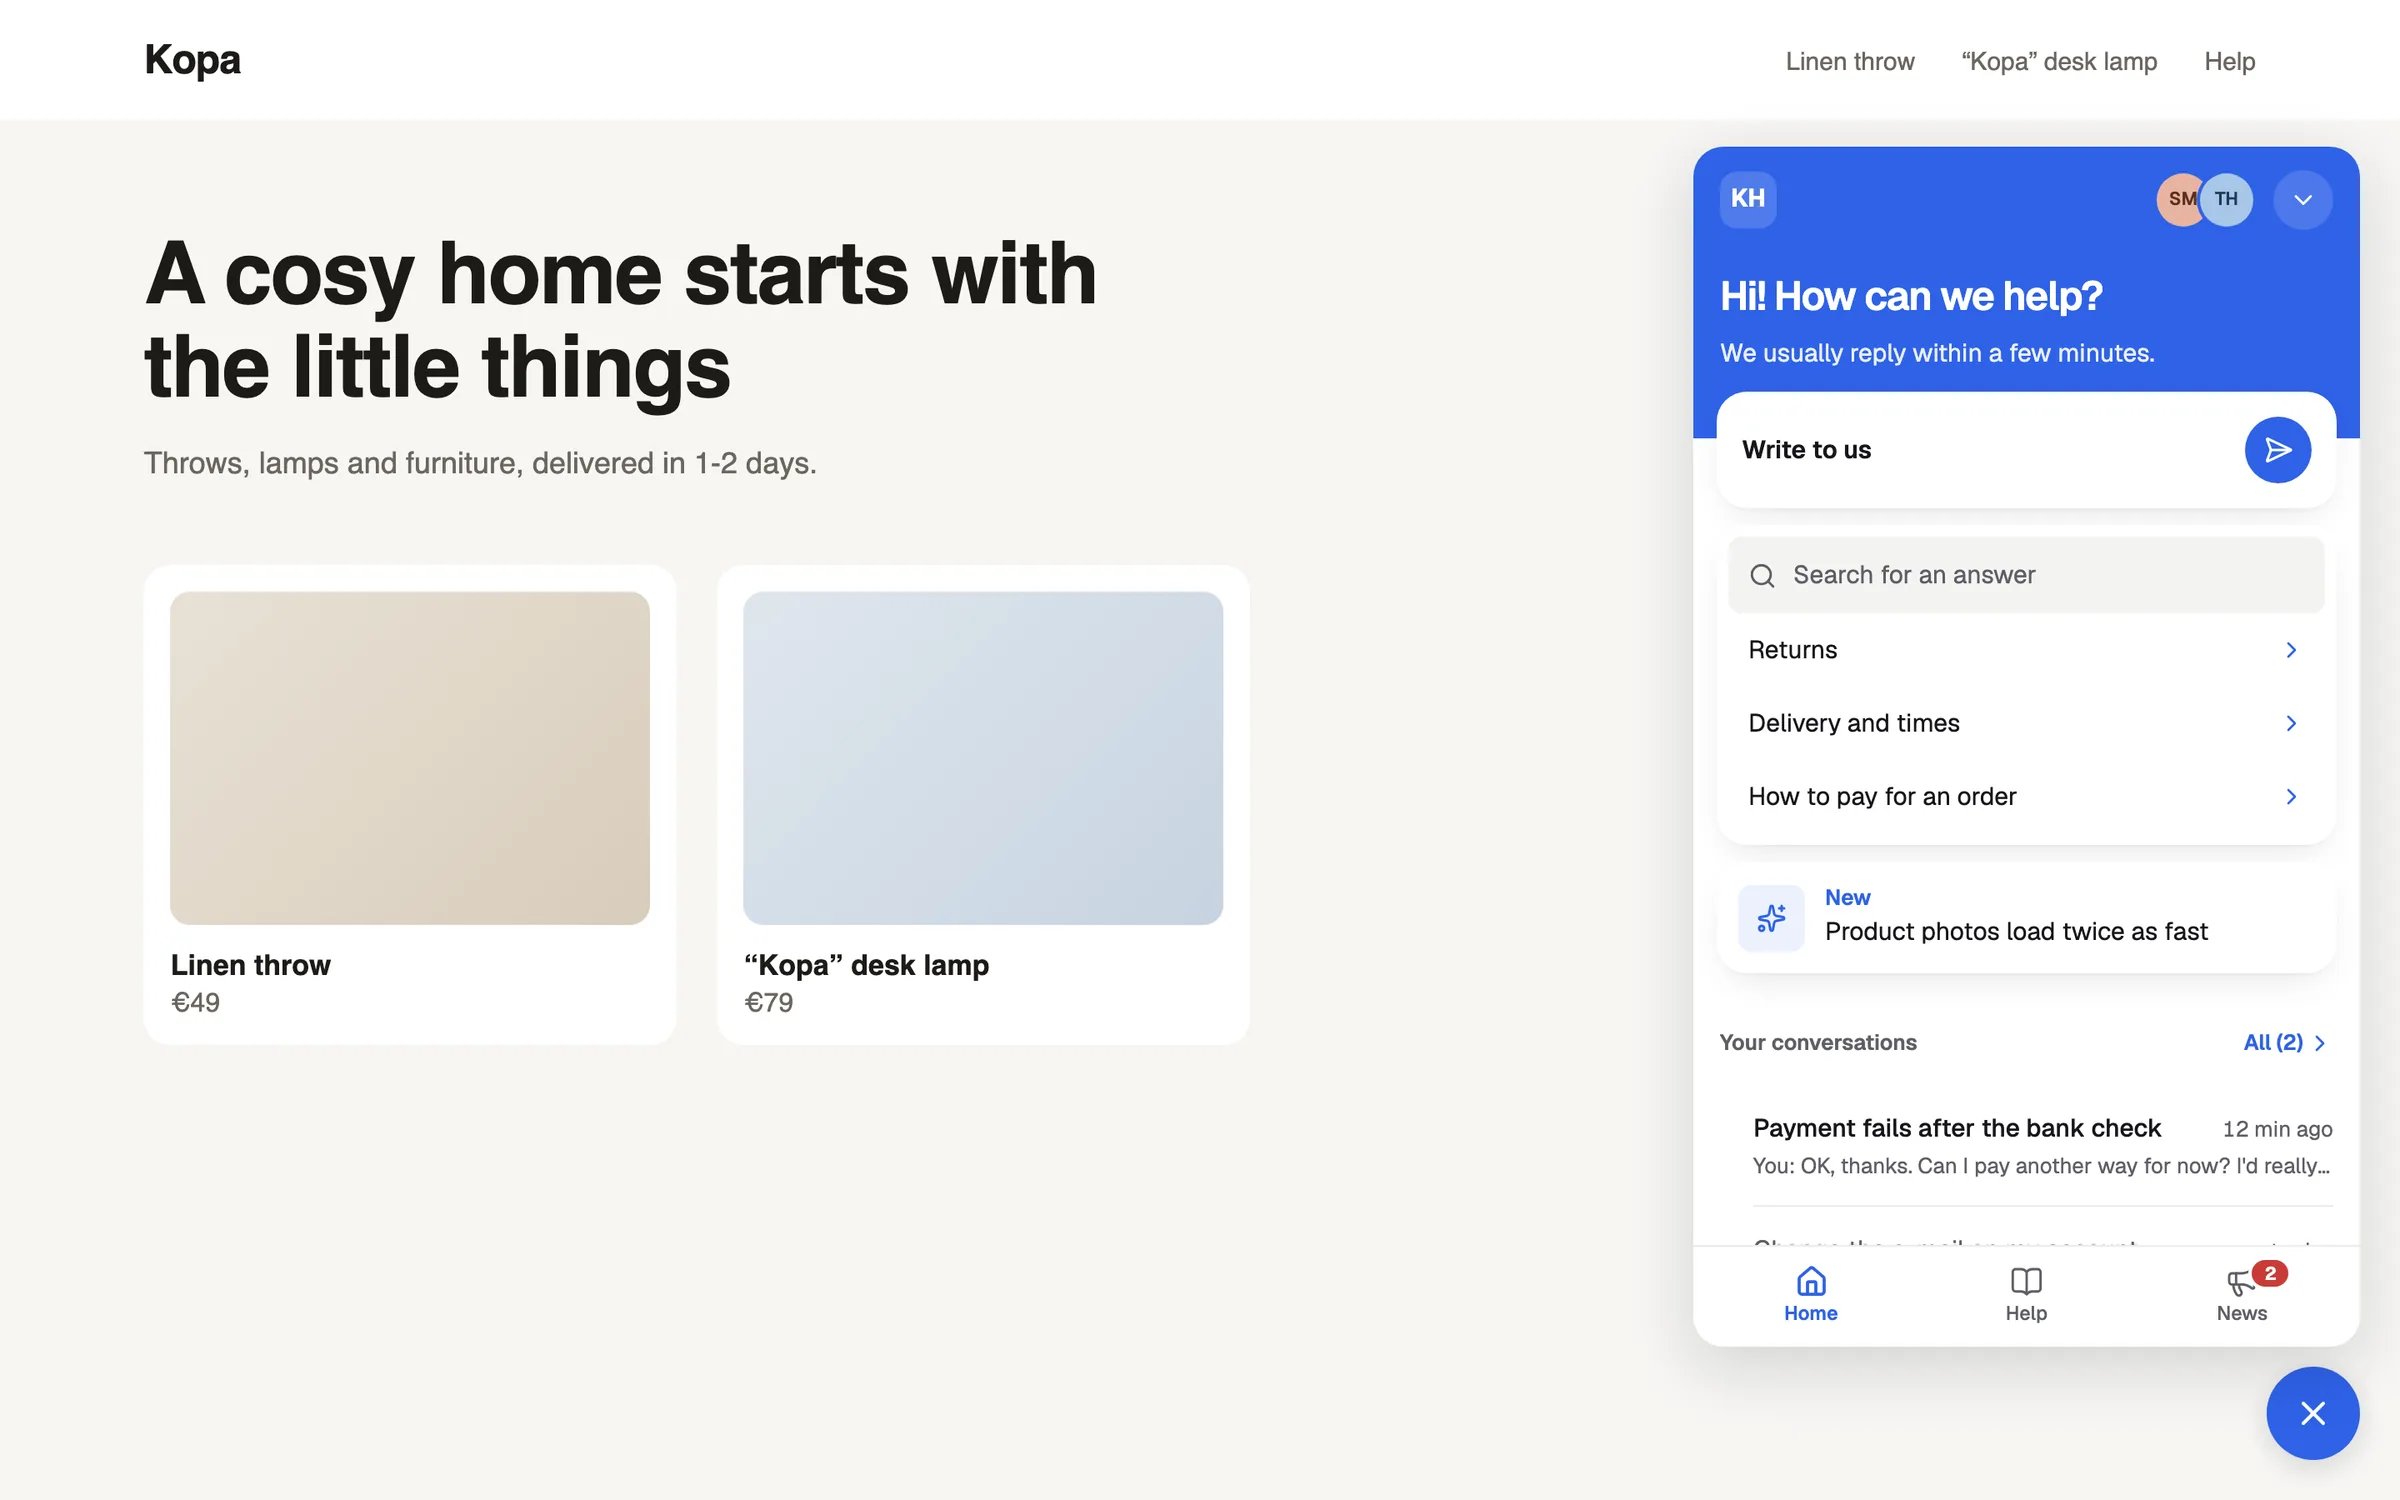
Allowed domains and localhost
The widget works only on allowed domains. Add each one as https://shop.example.com; https://*.example.com covers every subdomain of your domain. For development, turn on "Allow localhost". More on Embed code, React and CSP.
Did not find the answer? Write to us